How-to: Installing Debian V5 with CCcam (automated install script)
This how-to will cover the installation of Debian linux Version5 and Install CCcam.
As a new Debian version was released, i thought is was also time for a fine tuned how-to.
Some screens have changed and i noticed from the previous thread some folks were struggeling to get a few things working.
This is why i put together a complete and automated installation package for CCcam.
After installing Debian, all you have to do is download and run the installation script.
Once that is finished, the server will have apache, ftp, SSH, CCcam version 2.1.4 and PHPwebinfo from TOOGOODY (version 1.02) running on it.
It will also convert the server from DHCP to a static IP.
This script is intended to run on both the 32 aswel as the 64 bit version of Linux.
This How-to is still WIP by CC_Share
-- Todo --
-- Fixed --
Improper restart of vsftpd after installation
Config update script adjusted. It will flush IPTABLES when activating new config now
cccam start stop script updated. Restart option did not function properly on some systems.
New config for vsftpd included. Fixed permission denied problem for some installations
Fixed Illegal user script and CCcam start/stop script. Thanks to smurfer
-- Added --
Oscam download and compilation
Oscam scripts (can be started like CCcam with oscam start|stop|restart)
---------------------------------------
First download the netinstall cd of debian linux
You can download it from the following URL:
32 Bit version
Link ftp://ftp.nl.debian.org/debian-cd/5....86-netinst.iso
64 Bit version
Link ftp://ftp.nl.debian.org/debian-cd/5....64-netinst.iso
This will install the basic debian linux system on you're harddisk.
Boot the computer from the CD you just created.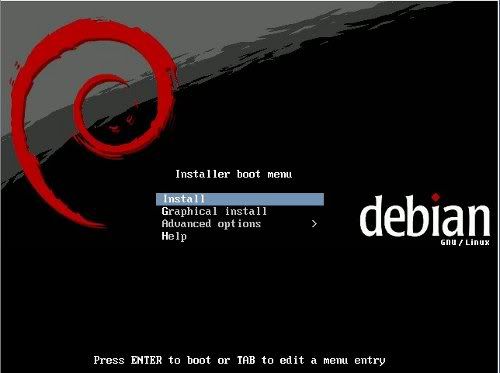
Just press enter here to start the installation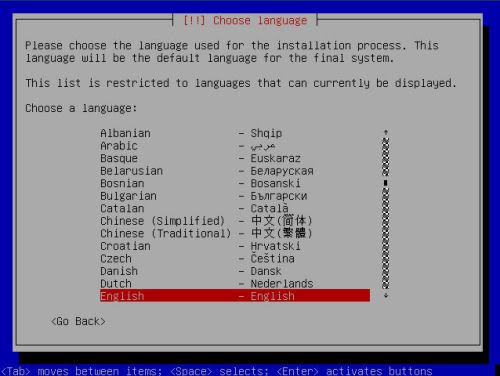
Select the language you prefer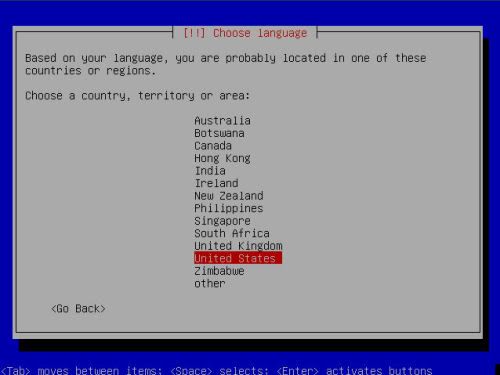
Select the country you're in. Based on the language it selects a default country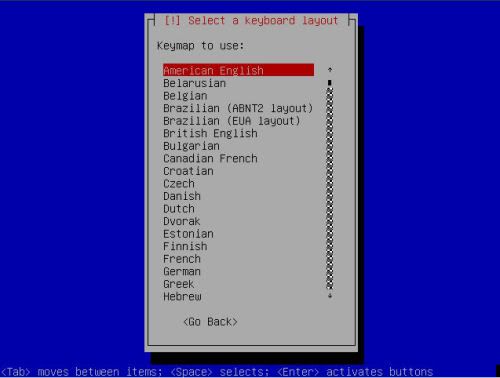
Here you can choose the keyboard layout. Make sure you select the proper layout otherwise installation might prove to be quite tricky.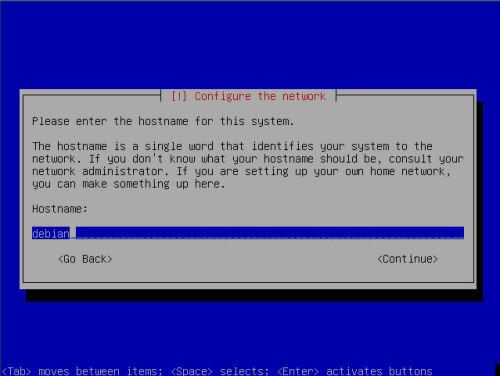
Set up the hostname of you're server here. I prefer to set up the first part of my DYNDNS account info here.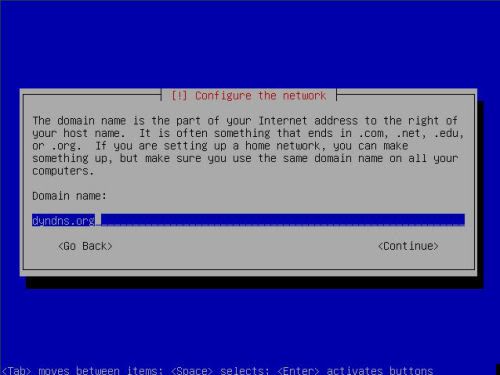
Here you must enter the domain name. In the example above, you can see i put dyndns.org here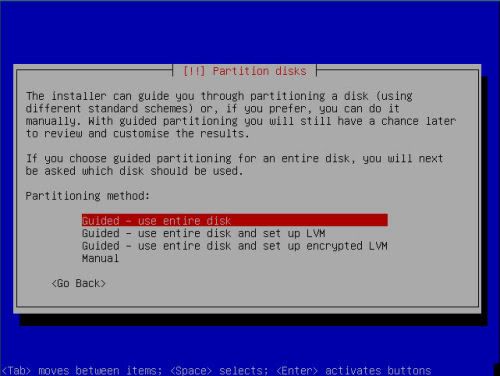
Next up is the partition guide. Here you must choose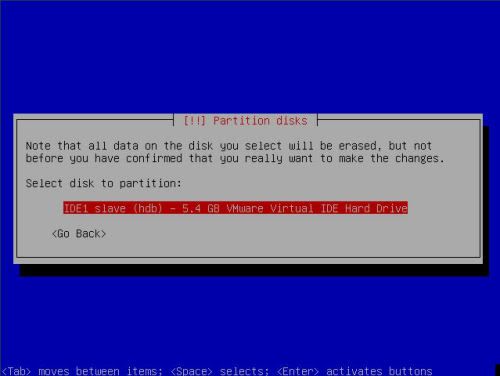
Select the right harddisk. Usually in a stand-alone server, there will just be one entry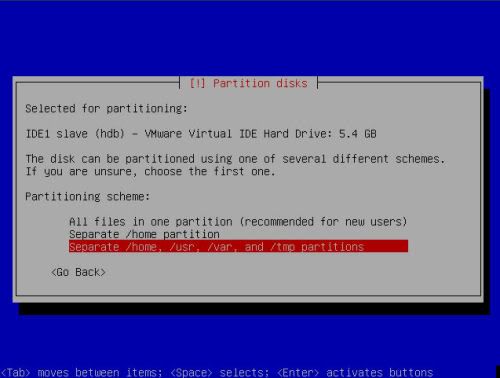
Debian will let you choose to have everything in 1 partition, or have seperate partitions for the important directory's. One advantage of having seperate partitions, You cannot fill the root system by accident if you upload a lot to the home directory. Linux will NOT boot correct , if the root filesystem is full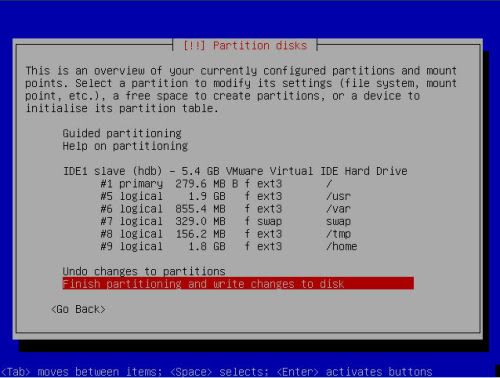
In the overview, You can check to see if all is set up correct before writing the changes to harddisk. Once you press finish, it will show you the next screen if you are really sure  .
.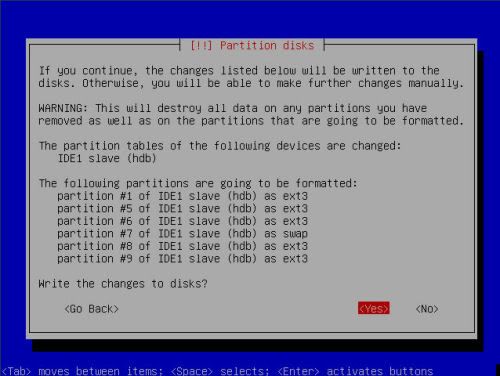
Once you select yes, It will write the changes to harddisk and format all partitions.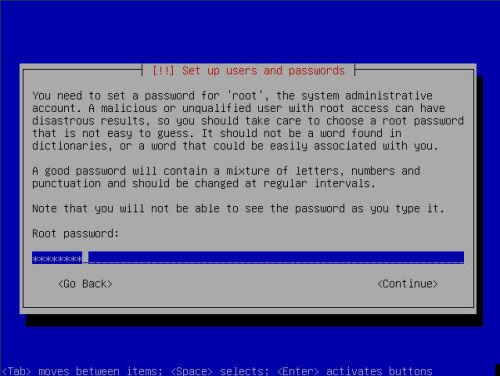
Next you will have to enter the root password. Do not choose an easy to guess password if you want the server to be reachable from the internet. (if you want to use SSH for example to manage the server from work)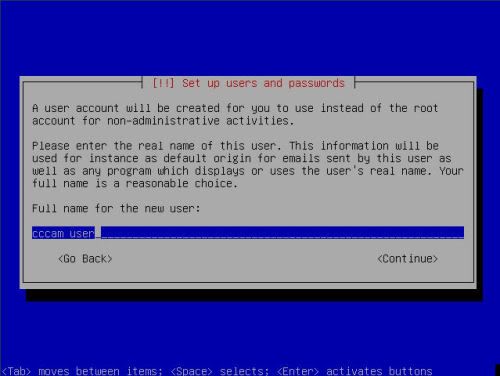
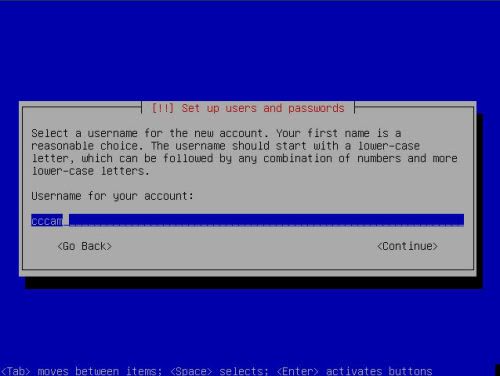
Next is setting up an account to use for FTP transfer.Use username cccam for this.
It's very important you use the correct username as some scripts depend on this name!!
Again, do not use a simple to guess password. This account can also be used for SSH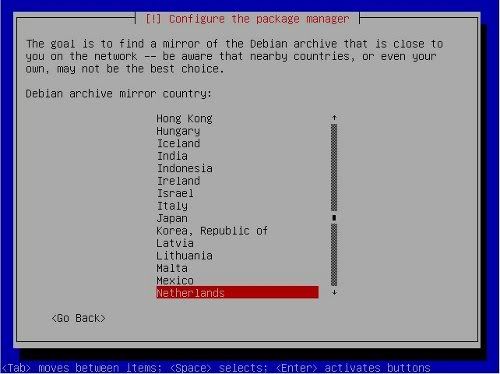
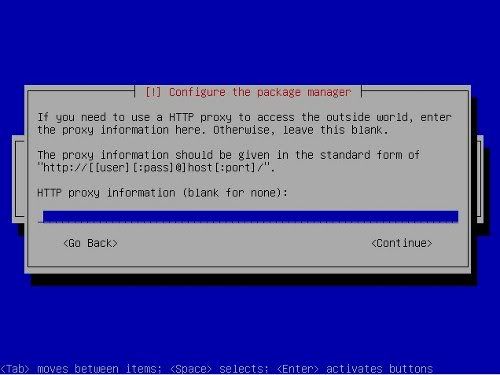
When selecting a mirror, make sure you select a good, fast one 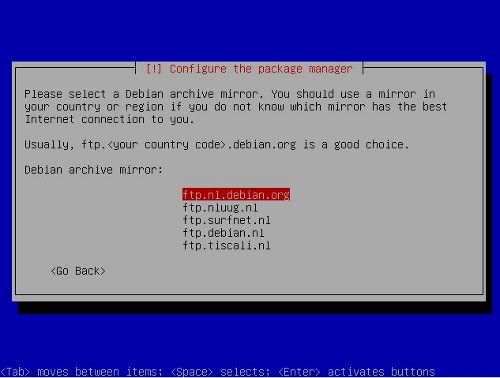
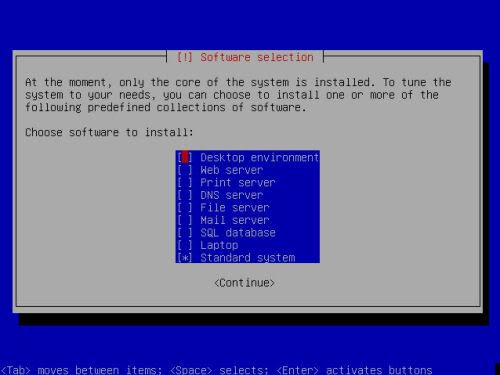
In the software selection screen, select base system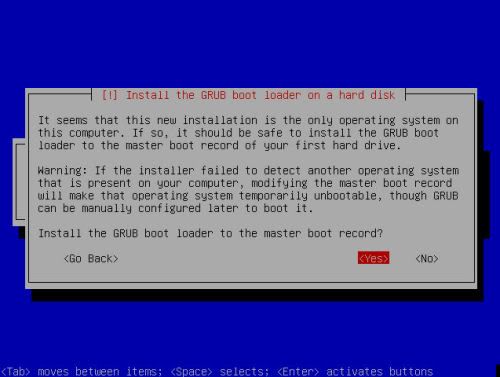
One of the last things it needs to know, is where to place the grub bootloader. Usually it is safe to place it on the MBR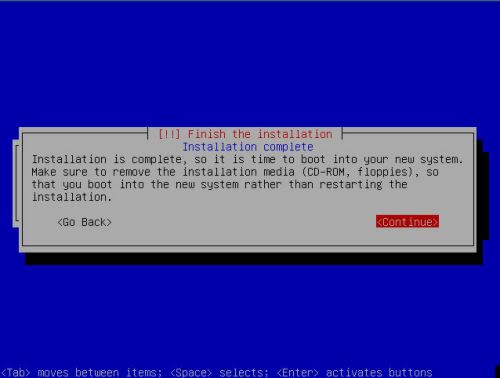
Congratulations, You just installed a fresh new DEBIAN server.
---
Installing and running the script
Log into the server using username root
type in:
| Guided - Use entire disk |
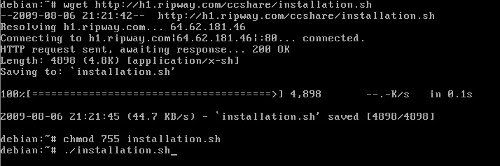
wget http://tiny.cc/f9kKY
chmod 755 installation.sh
./installation.sh
**Update **
A newer revision with Oscam support is available
You can download it by replacing the URL above with :
wget http://tiny.cc/QfzpU
Edit CnbYag:
In case that download link is down, you can get the files here:
http://www.eurocardsharing.com/downl...l-scripts-295/
.... end edit
And you're allmost done. An installation package will be downloaded, scripts will be installed. The script will keep you informed of what it is doing.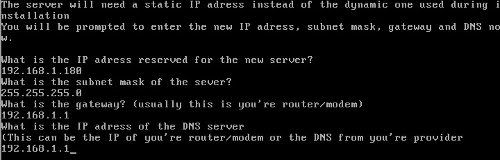
All it needs as userinput at the end of the installation if the following:
New STATIC ip adress
subnet mask
gateway
DNS server
Once this is finished, You can use a FTP client to upload you're CCcam config to the server and reboot it.
After the first reboot, the server will put the config in the right place and start CCcam.
Just remember the server is allready reachable with it's NEW static IP
If you included oscam emu, the config files should be placed in /emu/oscam. This way you allways know where they are.
The logfiles from oscam can be found in /emu/log
There are allready a sample config, userfile and serverfile present in /emu/oscam

